Daring Bakers: Lavash Crackers & Toppings

Just in the nick of time! I was afraid I won't be able to complete September's Daring Bakers Challenge, but so glad I drag my jet lag body out of bed this late afternoon and got to work. This month's challenge was Lavash Crackers with Vegan Toppings. For the very first time the challenge was hosted by alternative Daring Bakers Natalie from Gluten A Go Go and co-hosted by Shel from Musings From the Fishbowl. Thank you ladies for the recipe! We were free to add our twist with different spices. I decided to put an Asian spin on mines and added soy sauce flavoring and a sprinkling of black sesame seed and dried nori.
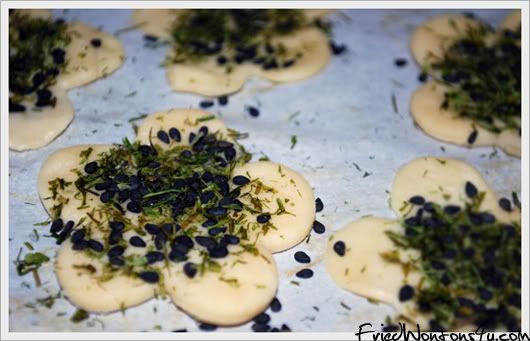
This was my second Daring Bakers Challenge and although I believe the results for this one went a lot better than my first challenge, Chocolate Éclairs, once again I was baking in a rush. I didn't have time to do the dip I really wanted to do, Wasabi Hummus. I made a simple balsamic vinaigrette dip instead.
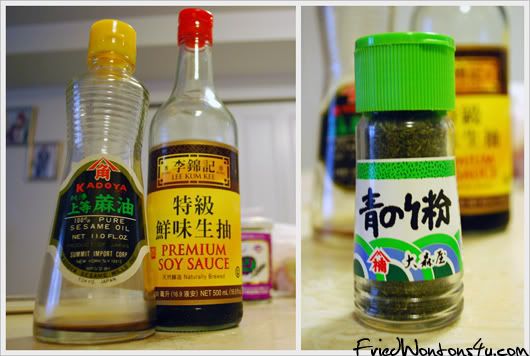
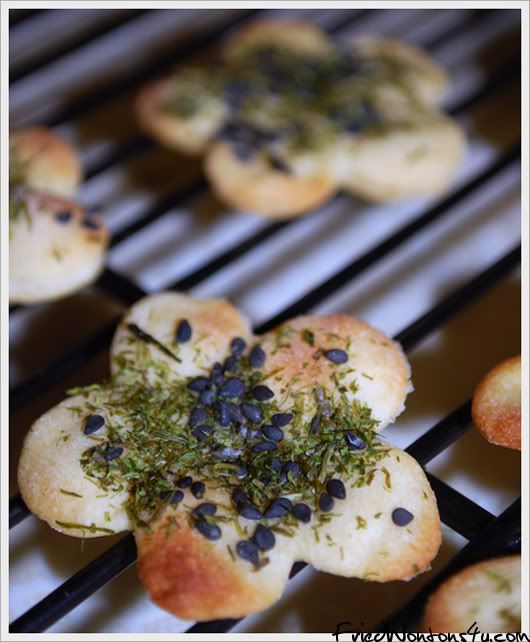
To add an Asian twist to the crackers, I added 2 tablespoons of soy sauce and 1 tablespoon of sesame oil instead of vegetable oil. As for the topping, I was deciding between dried nori and sesame seeds or dried shiso. I went with the nori and sesame seed instead thinking it would be a better companion for the wasabi hummus.
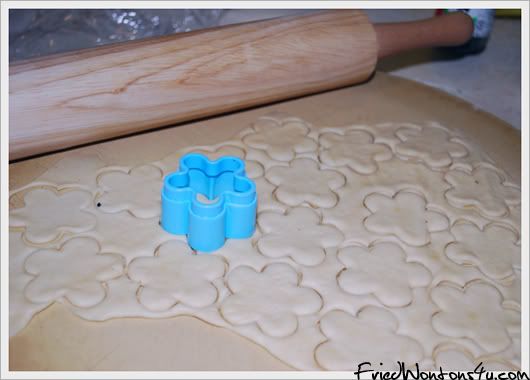
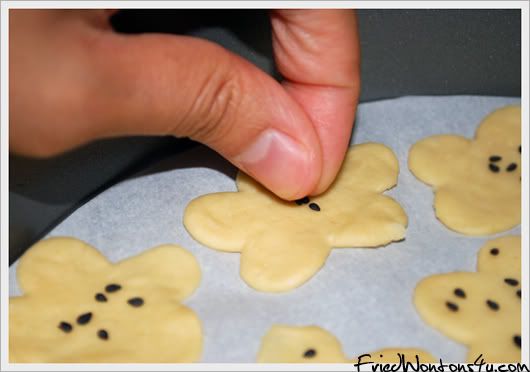
Although the soy sauce added a nice touch to the crackers, I probably needed to add 1/2 a tablespoon or maybe even an extra tablespoon more. The black sesame and nori topping went really well with each other. Too bad I didn't have time to make the wasabi hummus, but this is a recipe I would definitely be revisiting again.
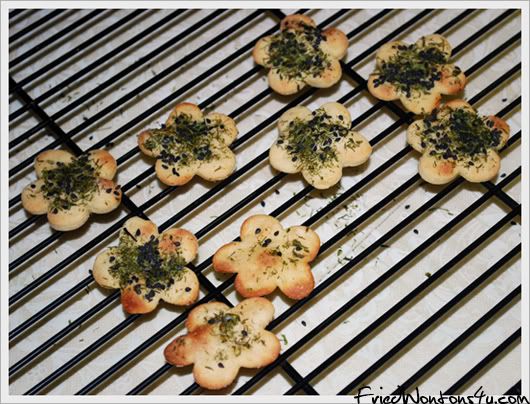
Daring Barkers' September Challenge: Whole Wheat Lavash Crackers & Toppings
Makes 1 sheet pan of crackers
Ingredients:
1 1/2 cups all purpose wheat flour or gluten free flour blend (If you use a blend without xanthan gum, add 1 tsp xanthan or guar gum to the recipe)
1/2 tsp salt
1/2 tsp instant yeast
1 Tb sugar
1 Tb sesame oil
2 Tb soy sauce
1/3 to 1/2 cup + 2 Tb (3 to 4 oz) water, at room temperature
Black sesame
Dried nori flakes
1. In a mixing bowl, stir together the flour, salt yeast, sugar, oil, soy sauce, and just enough water to bring everything together into a ball. You may not need the full 1/2 cup + 2 Tb of water, but be prepared to use it all if needed.
2. For Non Gluten Free Cracker Dough: Sprinkle some flour on the counter and transfer the dough to the counter. Knead for about 10 minutes, or until the ingredients are evenly distributed. The dough should pass the windowpane test (see http://www.wikihow.com/Determine-if-Bre … ong-Enough for a discription of this) and register 77 degrees to 81 degrees Fahrenheit. The dough should be firmer than French bread dough, but not quite as firm as bagel dough (what I call medium-firm dough), satiny to the touch, not tacky, and supple enough to stretch when pulled. Lightly oil a bowl and transfer the dough to the bowl, rolling it around to coat it with oil. Cover the bowl with plastic wrap.
or
2. For Gluten Free Cracker Dough: The dough should be firmer than French bread dough, but not quite as firm as bagel dough (what I call medium-firm dough), and slightly tacky. Lightly oil a bowl and transfer the dough to the bowl, rolling it around to coat it with oil. Cover the bowl with plastic wrap.
3. Ferment at room temperature for 90 minutes, or until the dough doubles in size. (You can also retard the dough overnight in the refrigerator immediately after kneading or mixing).
4. For Non Gluten Free Cracker Dough: Mist the counter lightly with spray oil and transfer the dough to the counter. Press the dough into a square with your hand and dust the top of the dough lightly with flour. Roll it out with a rolling pin into a paper thin sheet about 15 inches by 12 inches. You may have to stop from time to time so that the gluten can relax. At these times, lift the dough from the counter and wave it a little, and then lay it back down. Cover it with a towel or plastic wrap while it relaxes. When it is the desired thinness, let the dough relax for 5 minutes. Line a sheet pan with baking parchment. Carefully lift the sheet of dough and lay it on the parchment. If it overlaps the edge of the pan, snip off the excess with scissors.
or
4. For Gluten Free Cracker Dough: Lay out two sheets of parchment paper. Divide the cracker dough in half and then sandwich the dough between the two sheets of parchment. Roll out the dough until it is a paper thin sheet about 15 inches by 12 inches. Slowly peel away the top layer of parchment paper. Then set the bottom layer of parchment paper with the cracker dough on it onto a baking sheet.
5. Preheat the oven to 350 degrees Fahrenheit with the oven rack on the middle shelf. Mist the top of the dough with water and sprinkle a covering of black sesame seeds and dried nori. Be careful with spices and salt - a little goes a long way. If you want to precut the cracker, use a pizza cutter (rolling blade) and cut diamonds or rectangles in the dough. You do not need to separate the pieces, as they will snap apart after baking. If you want to make shards, bake the sheet of dough without cutting it first.
5. Bake for 15 to 20 minutes, or until the crackers begin to brown evenly across the top (the time will depend on how thinly and evenly you rolled the dough).
6. When the crackers are baked, remove the pan from the oven and let them cool in the pan for about 10 minutes. You can then snap them apart or snap off shards and serve.
Labels: Asian, Baking, Bread, Daring Bakers, lavash
posted by friedwontons4u at
10:14 PM
22 Comments


